Recording an Opportunity
Go to the Opportunities module and click the icon on the right.

NOTE: The default name for ‘Pipelines’ is the ‘Opportunities’ module. You can configure the module names in the administration settings.
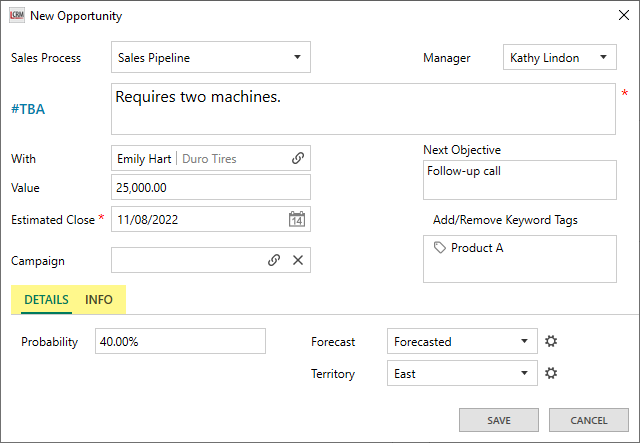
Use the drop-down bar to select a sales process/pipeline and enter the opportunity details in the form below. Click ‘SAVE’ once you complete the form.
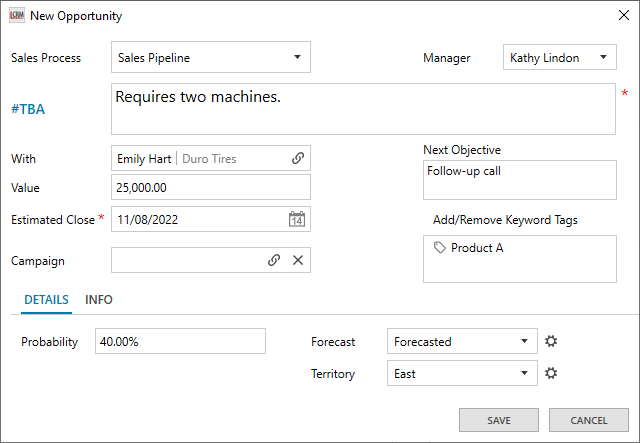
#TBA: A summary of the sales opportunity.
With: Refers to the company or individual contact who expressed interest in your product or service. Click on the icon to link the company/contact.
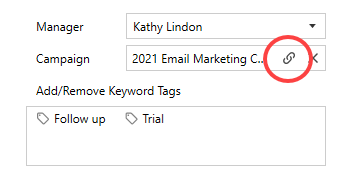
Manager: The team member responsible for the sale opportunity.
Value: The estimated value of the sale opportunity.
Estimated Close: The estimated date the Opportunity will close.
Campaign: If a lead came from a campaign, click on the icon to link the campaign record from your CRM to the Opportunity.
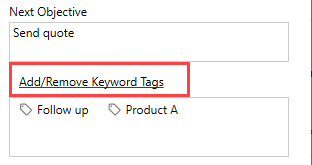
Next Objective: A summary of your next objective to convert the prospect into a customer.
Add/Remove Keyword Tags: Use keyword tags to segment Opportunities into groups.
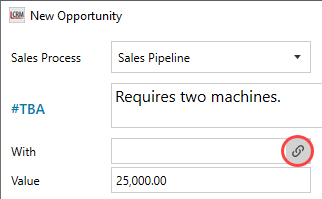
Linking a Contact
Click the icon to link a company/contact to the Opportunity.
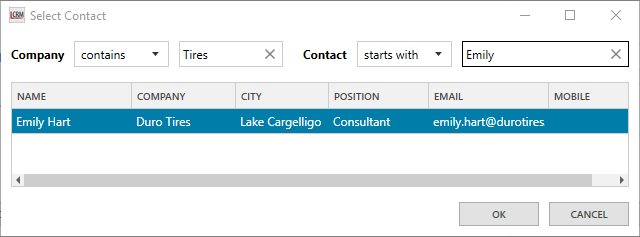
Use the filter or enter a search to find the Company or Contact. Select the contact and click OK to link it to the Opportunity.
Linking a Campaign
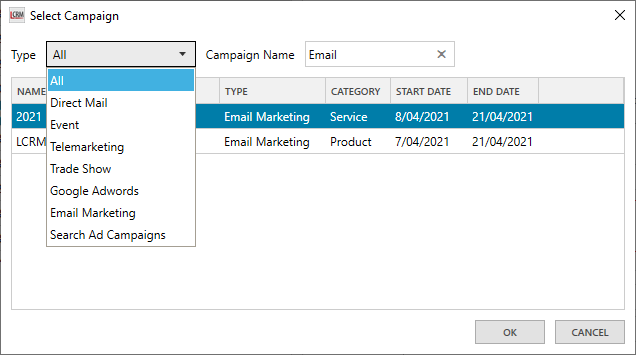
Click the icon to link a Campaign to the Opportunity.
Use the drop-down list to select a Campaign Type or enter the name of the Campaign in the search bar. Select the Campaign and click ‘OK’.
Assign/Remove Keyword Tags
Keyword tags allow you to segment Opportunities into different lists. For example, you can create a keyword tag for Opportunities associated with a product category. Click ‘Add/Remove Keyword Tags’ to create a new keyword tag.
NOTE: Opportunity keyword tags are specific to the Opportunities module. You can create separate keyword tags for Companies and Contacts.
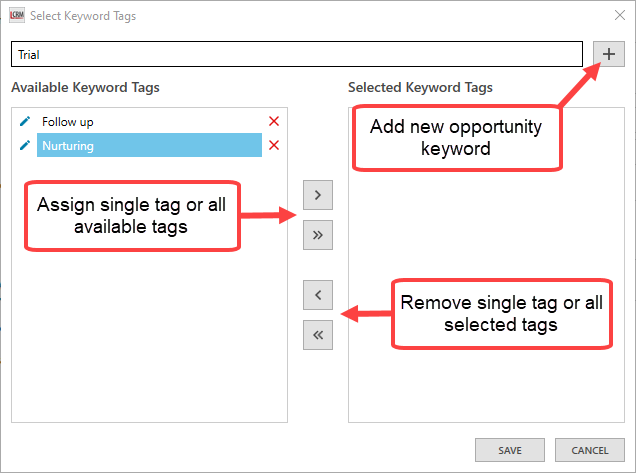
Enter a name for the keyword tag and click the icon on the right.
Use the right-facing arrow to assign keyword tags from the ‘Available Keyword Tags’ list. Alternatively, you can double-click the tags to assign or remove them.
Click ‘SAVE’ once you assign the tags.
Storing Additional Details
When you record an Opportunity, you can store additional information in the ‘Details‘ section. Click on each tab, enter information as required and then SAVE.
The data fields in the ‘Details’ section are configurable. You can add fields, change the caption and specify the control type.
View our configuration guide to find out how to add data fields and change the captions.