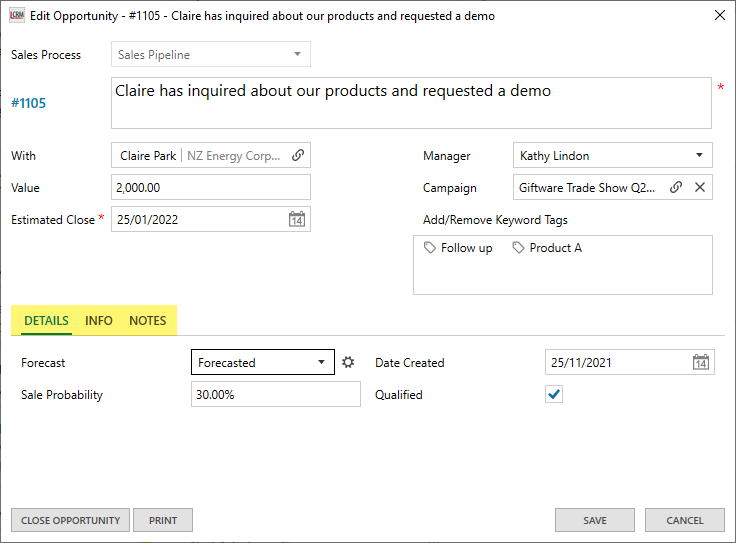
When you record an opportunity, you can store additional information in the three sections below. You can add data fields with a specific control type and change the caption to make it relevant to your business. The control types include number, dropdown, link, date, text, percentage and checkbox.
Add data fields and configure screen layout
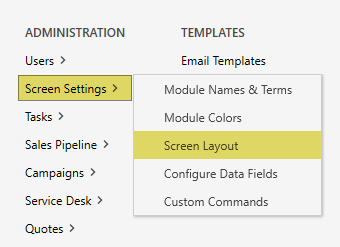
Click Screen Settings > Screen Layout to add data fields and configure the screen layout.
In the screen layout settings, you can add fields and change the name of the sections, the number of blocks and block margins.
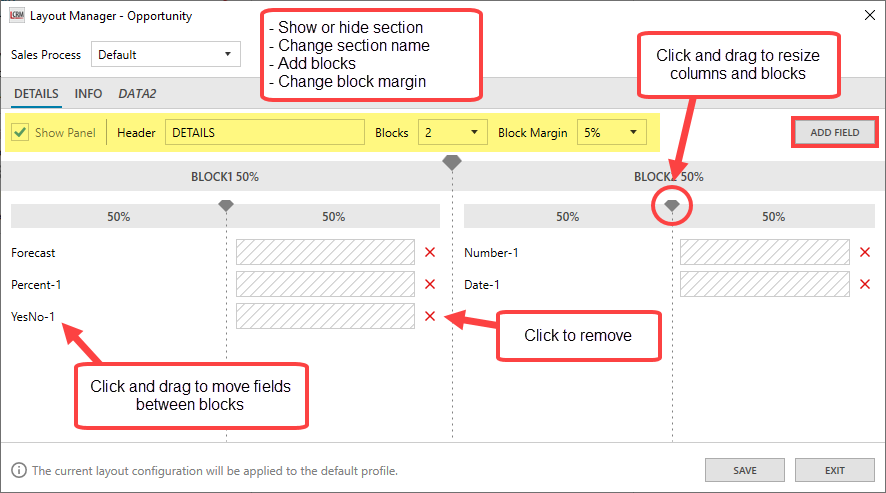
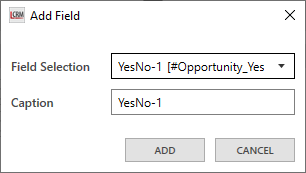
Click ‘ADD FIELD’ and select a data field. Click ADD then SAVE to add the data field to the ‘Details’ section.
Change data field caption
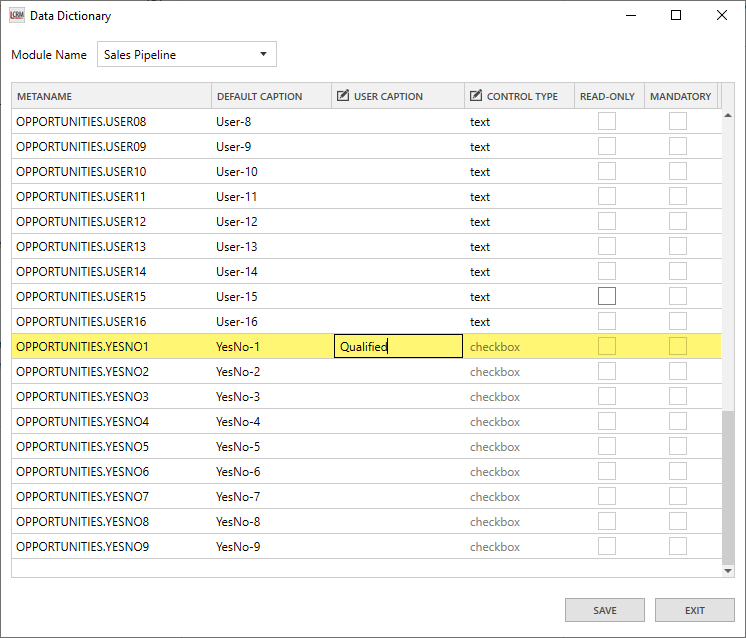
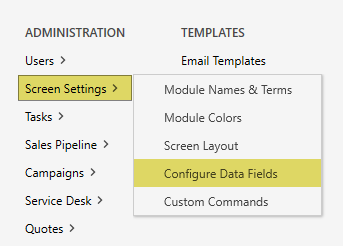
In the data dictionary, you can change the user captions for any data field. In the administration settings, click Screen Settings > Configure Data Fields to open the data dictionary.
Locate the data field you used and enter a user caption in the text field. Once you change the data field caption, click SAVE and exit