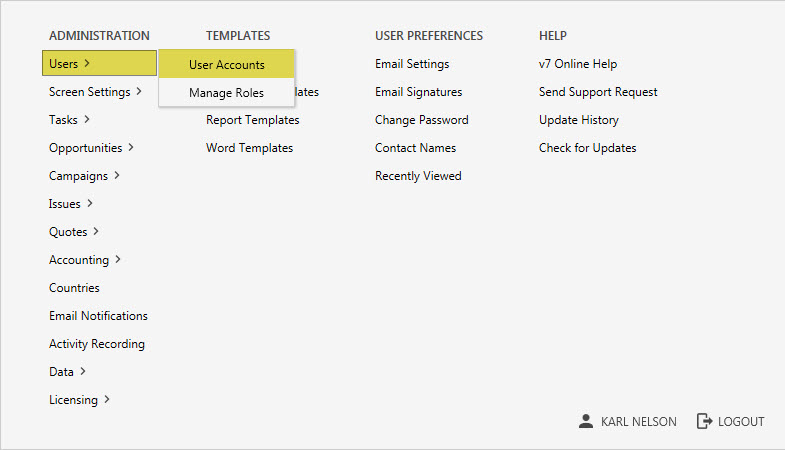
Legrand CRM uses login user names and optional passwords to manage accounts. Legrand CRM records each user’s action when creating or editing a record. Therefore, it’s highly recommended for team members using Legrand CRM have separate login accounts to easily view who made any changes. To manage User Accounts and User Roles, go to the administration panel in Legrand CRM and select ‘Users’.

Create New Users
To create an account for a new user, go to the administration panel in Legrand CRM. Select ‘Users > User accounts’ and click ‘ADD‘ in the ‘Manage User Accounts’.

In the new window, type in a new ‘User Login’, First Name, Last Name and Email. The ‘User Login’ is the name you will use to log into Legrand CRM. The password is optional if you require additional security. Once you have filled in all the necessary details, click ‘SAVE’ and proceed to assign the new account a ‘User Role’.

Note: User login, Name and Email is mandatory to fill in. The remaining fields are optional.
User Roles & Permissions
Once you create a new user account, you can assign a ‘User Role’ which contains specific permissions. Each ‘User Role’ has varying permissions which enable the user to perform specified actions. For example, the role ‘USER’ has standard access permissions shared by all users. Whereas, the role ‘ADMINISTRATORS’ has full permission to access and make any changes in Legrand CRM.

To assign a ‘User Role’, select a user account from the ‘ACTIVE USERS’ list and click ‘Change User Roles’.

In the ‘Select Roles’ window, select a role from the list of available roles and click on the right arrow to assign it to the user. To assign all available roles to the user click on the double right arrow. After you assign a new role it should appear in the ‘Selected Roles’ list. Click on the left arrow to remove a single selected role or click on the double left arrow to remove all selected roles. Once you have assigned a role click ‘SAVE‘.

To view permissions for a selected user click on ‘View User Permissions’.

The ‘Permissions Category’ displays all the specific permissions assigned to the user role. The permissions include making changes to the system, administration, modules, linking accounting systems and more.

To change a User Role’s permissions go to the administration panel in Legrand CRM. Select ‘Users > Manage Roles’.

Select the ‘User Role’ you want to modify and click ‘Change Role Permissions’.

In the ‘Role Permissions’ window, go through the permissions category and tick the boxes to change permissions for the selected User Role. After you click ‘SAVE‘, the changes will take effect once you log out and log back in.

Managing Inactive Users
If a team member leaves your business and no longer uses Legrand CRM, we recommend setting the user account to ‘Inactive’ rather than deleting the account. If a user account is deleted, the records in Legrand CRM will no longer display information for that user in fields “Last changed by”, “Created by” and “Assigned to”. To make a user account inactive go to the administration panel in Legrand CRM and click on ‘Users > User Accounts’.
Select the user account you want to make inactive, tick the box next to Inactive User then ‘SAVE’.

After you set the user account to inactive, you can still view the account in the ‘Inactive Users’ list.
