When you create a ticket, you can record information such as the priority and link an asset or opportunity in the properties panel. You can also add custom fields in the properties panel to capture additional ticket information.
1. Define custom data fields
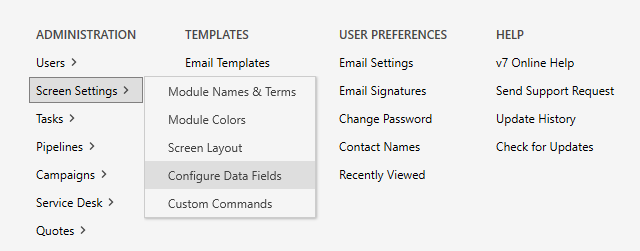
The first step is to select a field type and edit the caption in the configuration settings. Go to the administration settings and click Screen Settings > Configure Data Fields.
There are various field types you can use to store ticket information. For example, you can use a date, number, text, or checkbox field.
| Meta name | Default Caption | User Caption | Control Type |
| CUSTSERVICE.DATE1 | Date-1 | E.g. Purchase date | Date |
| CUSTSERVICE.NUMBER1 | Number-1 | E.g. Price | Number |
| CUSTSERVICE.USER1 | User-1 | E.g. Product type | Text |
| CUSTSERVICE.YESNO1 | YesNo-1 | E.g. Verified? | Checkbox |
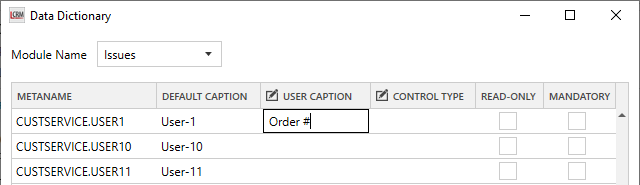
Use the drop-down to select the service desk module and locate a field type. Enter a name in the ‘USER CAPTION’ column and save.
2. Add custom fields to the properties panel
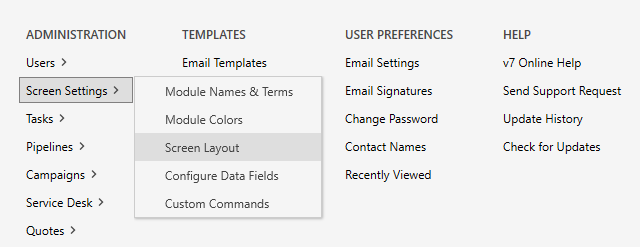
Once you define custom fields, go to the administration settings and select Screen Settings > Screen Layout.
You can add the custom fields to the default layout or create a custom layout for each ticket type. For example, you may add a ‘product type’ field in the properties panel for a support ticket and an ‘order number’ field for a sales-related ticket.
Use the drop-down to select a layout.
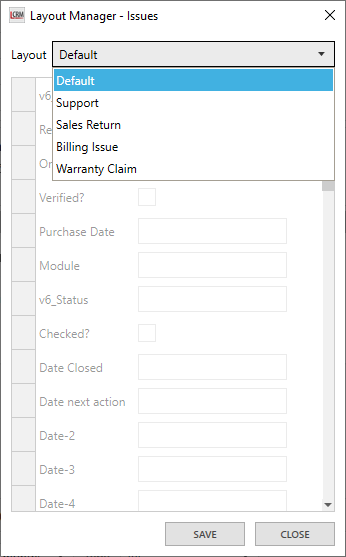
Click the icon on the right to show/hide the field(s) and save.
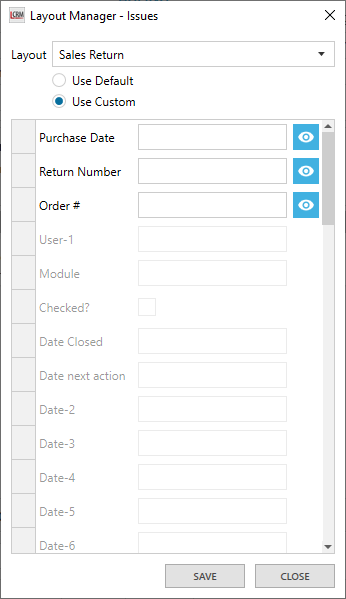
NOTE: If you select a specific layout (ticket type), you have the following options:
- Use Default: Use the same fields as the default layout.
- Use Custom: Select custom fields for the specific layout.