Prerequisite: Download and install the Legrand CRM Outlook add-in from our site here.
Note: Legrand CRM will no longer develop and update the Legrand CRM Outlook Add-in for desktop Outlook as the new Outlook for Windows does not support COM add-ins. However, Legrand CRM will release a new version of the Outlook add-in that will run in the new Outlook in time to ensure no productivity benefits are lost when the new Outlook becomes the only way to access your mail.
Enable Web Access
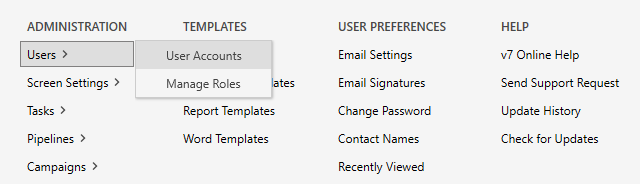
In Legrand CRM, go to Administration > Users > User Accounts to set up a password for the Outlook add-in.
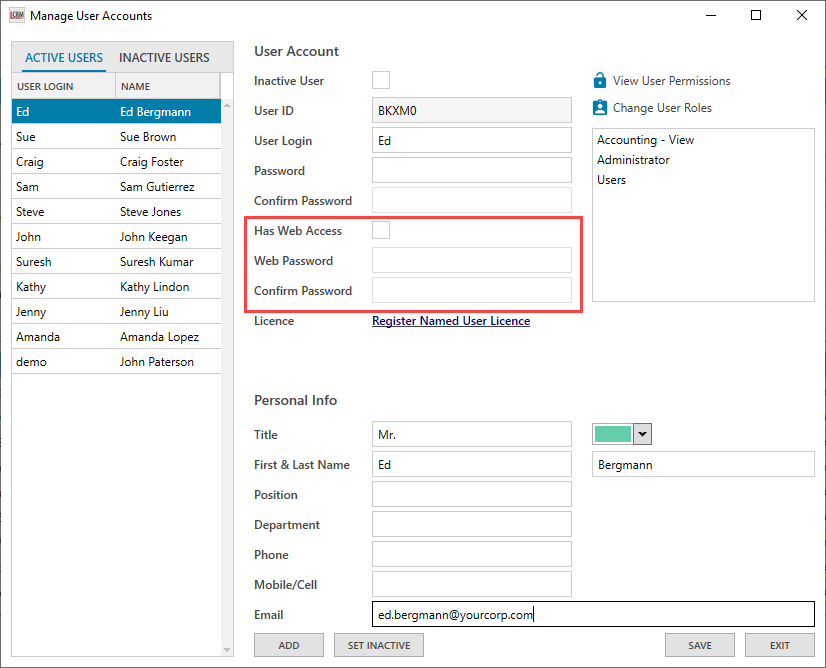
Select your user account and tick Has Web Access. Create a new password and click SAVE.
Define a connection to Legrand CRM
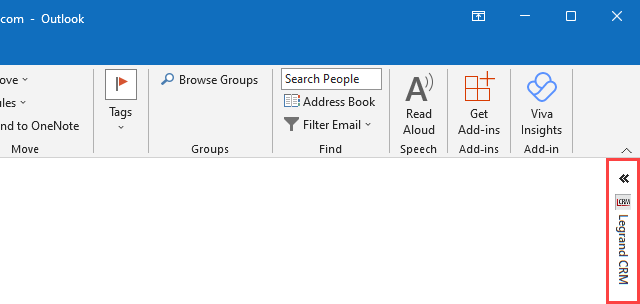
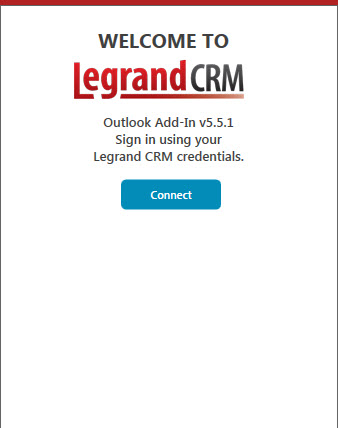
Once you enable web access, go to Microsoft Outlook and select the ‘Legrand CRM’ tab on the right.
Click Connect.
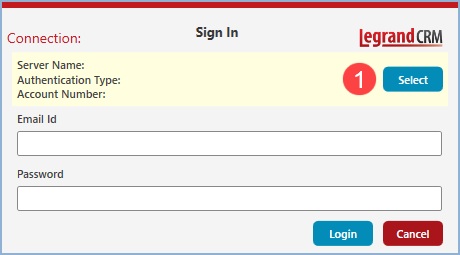
Click Select to define a new connection.
Select Add New.
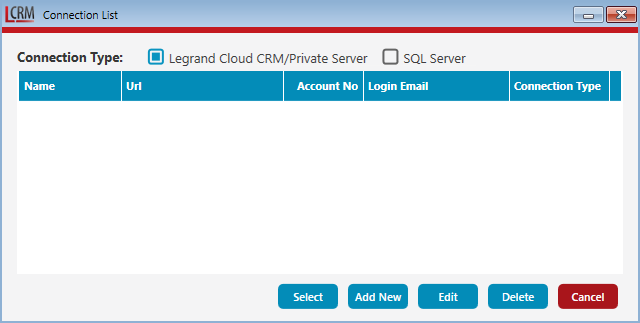
Select a connection type. The details required for each connection type will vary.
- Select ‘SQL Server’ if your CRM database runs on a server in your office.
- Select ‘Your Private Server’ if your CRM database runs on your own private server.
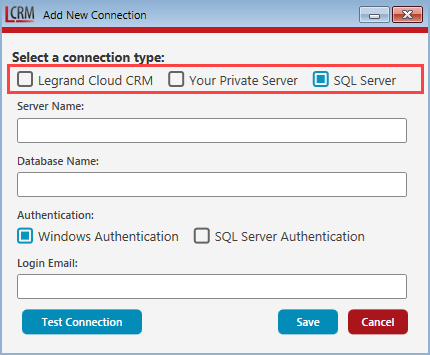
SQL Server Connection
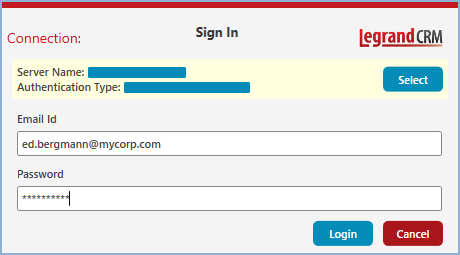
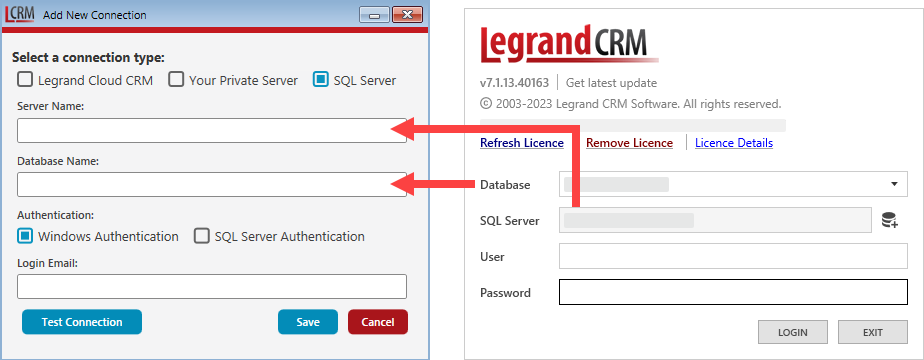
If you are defining a connection to a ‘SQL Server’, enter your Server Name and Database Name and select an Authentication method. The Server and Database name is the same as the information on your Legrand CRM login screen.
SQL Server Windows Authentication
For ‘Windows Authentication’, enter your login email. The ‘Login Email’ is the same email used to create your Legrand CRM user account.
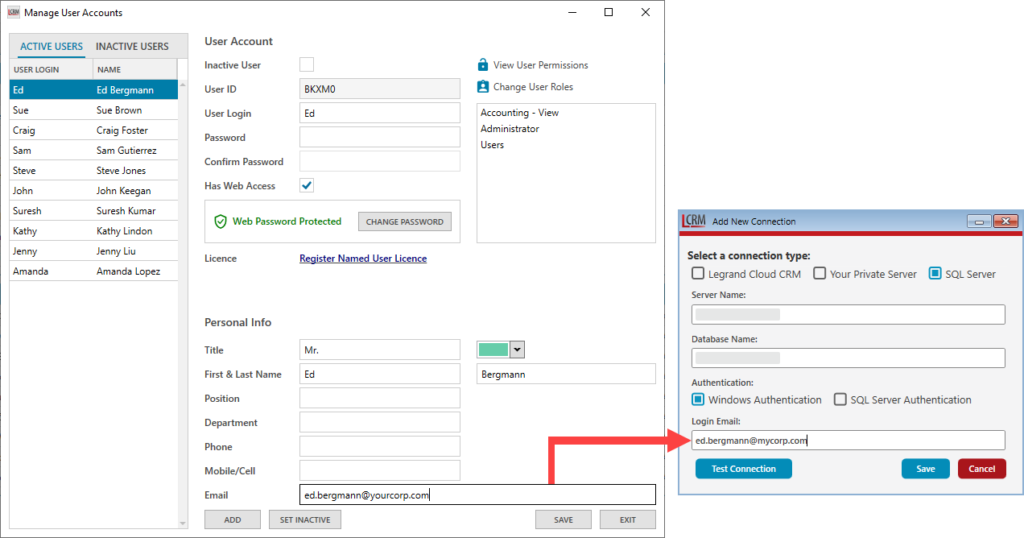
NOTE: To check this information, go to the administration settings in Legrand CRM and select Users > Manage Accounts.
Click Test Connection to ensure the Outlook add-in connects to your Legrand CRM database.
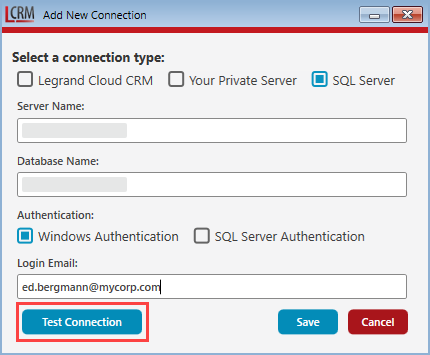
Click Save once the test connection is successful.
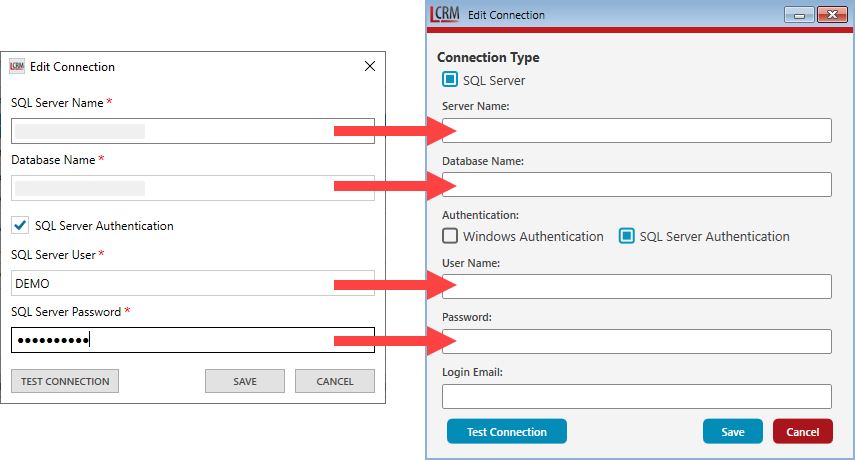
SQL Server Authentication
For ‘SQL Server Authentication’, enter your Server Name, Database Name, User Name and Password. The details are the same information specified in the Legrand CRM login screen.
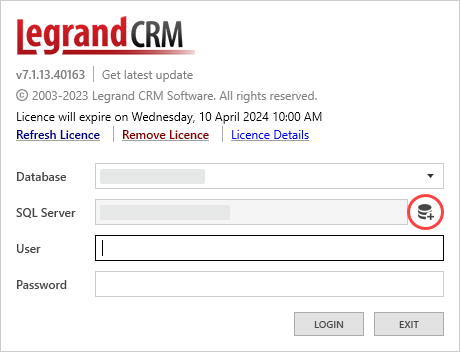
Click the icon in the Legrand CRM login screen to check this information:
Enter your login email and click Test Connection. Note that the login email is the same email used to create your Legrand CRM user account.
Click Save once the test connection is successful.

Private Server Connection
If you are defining a connection to a private server, enter the details in the following fields:
Connection Name: Enter a generic name used to identify the connection.
Enter URL: Enter the URL web address. If you do not know the URL, please contact your Legrand Administrator or IT Support.
Login Email: The email used to set up your Legrand CRM account.

Click Test Connection to ensure the Outlook add-in connects to your Legrand CRM database. Click Save once the test connection is successful.
Login
Once you define a connection to your SQL Server or Private Server, go to the connection list and click Select.
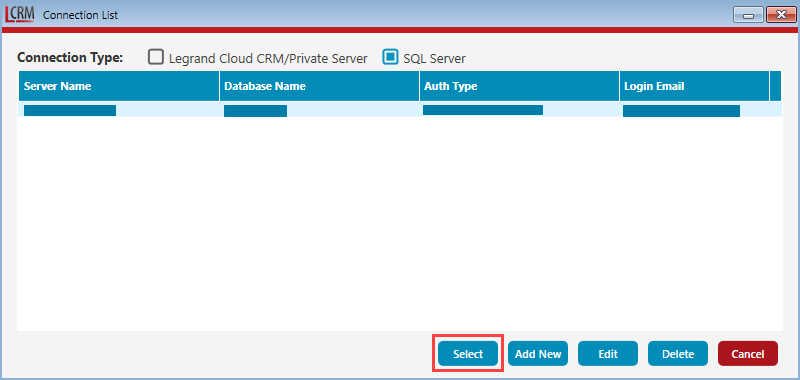
Enter your web access password and click login.