Legrand CRM’s drop-down fields are configurable to suit your business requirements. There are standard drop-down fields and additional drop-down fields you can configure to store any relevant information. When you create or edit a CRM record, you can populate the drop-down field’s list values. You can add as many values to the drop-down field, edit and delete values.
NOTE: A CRM record refers to information you record and store within Legrand CRM. For example, a Company, Contact, Opportunity, Activity Note, Task, Calendar Event etc.
Populating standard drop-down fields
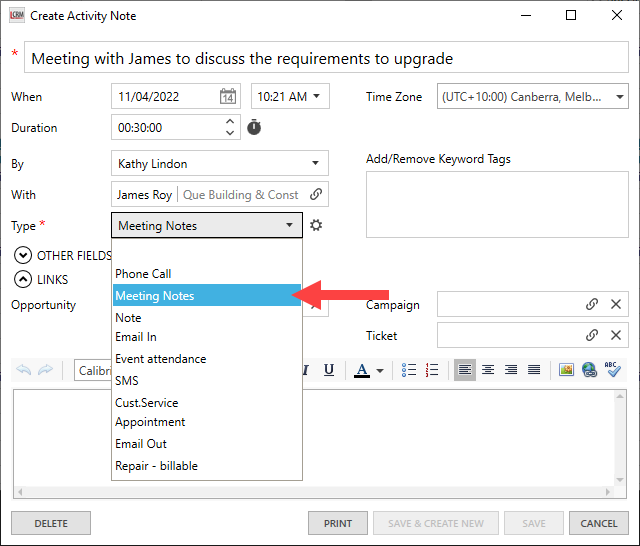
The ‘Type’ field is a standard drop-down field in Legrand CRM. When you create a CRM record, you can add values to the drop-down field to specify the CRM record’s type.
Click on the icon next to the drop-down field to add values.

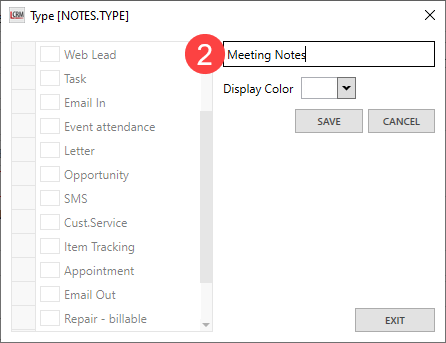
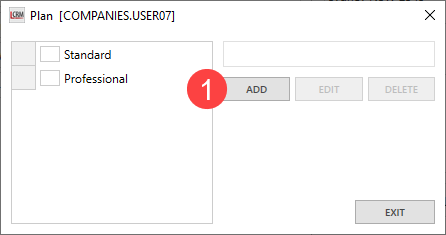
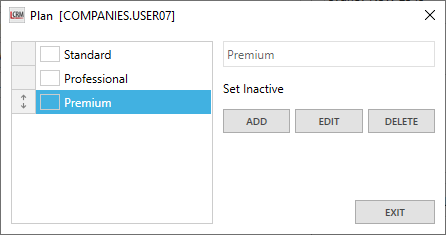
Click ‘ADD’.

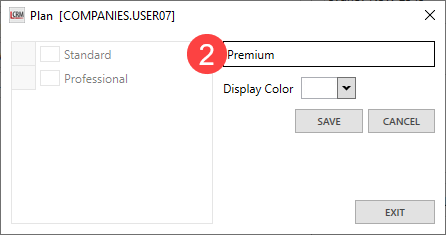
Enter a name for the ‘Type’ in the text field and click ‘SAVE’.
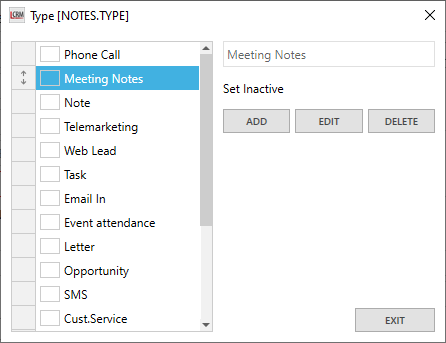
Once you add the value, it should appear on the left side of the configuration screen. Repeat the process to add more values. If you no longer use one of the values, you can set it as inactive, edit or delete it.
Click ‘EXIT’ when you complete adding drop-down field values.
NOTE: You can not delete a drop-down value in use. We recommend setting the value as inactive for values you no longer use.
Once you exit the configuration screen, click on the drop-down field to select the value and save.
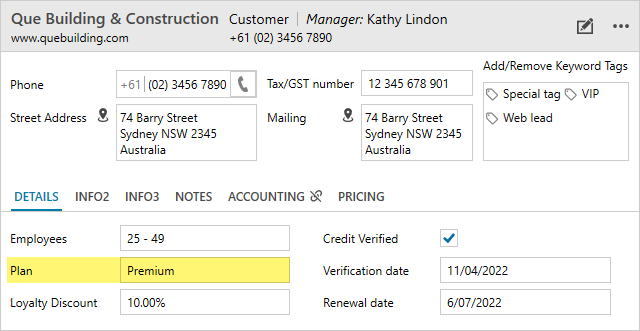
Additional drop-down fields
Legrand CRM provides additional data fields you can configure and add to a CRM record. For example, you can add drop-down fields in the Companies module to store additional information about a company.
Click here to find out more on how to add additional fields to a Company record.
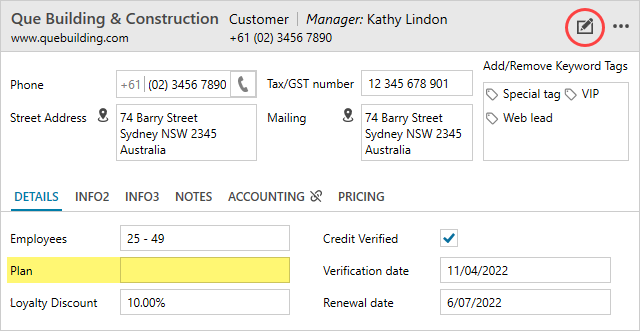
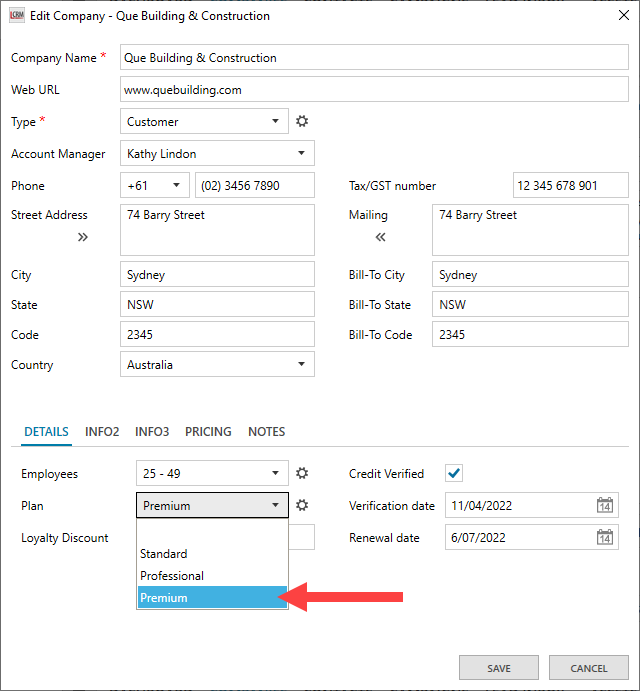
Once you add the additional drop-down fields, click on the ‘edit’ icon to populate the field and store information.
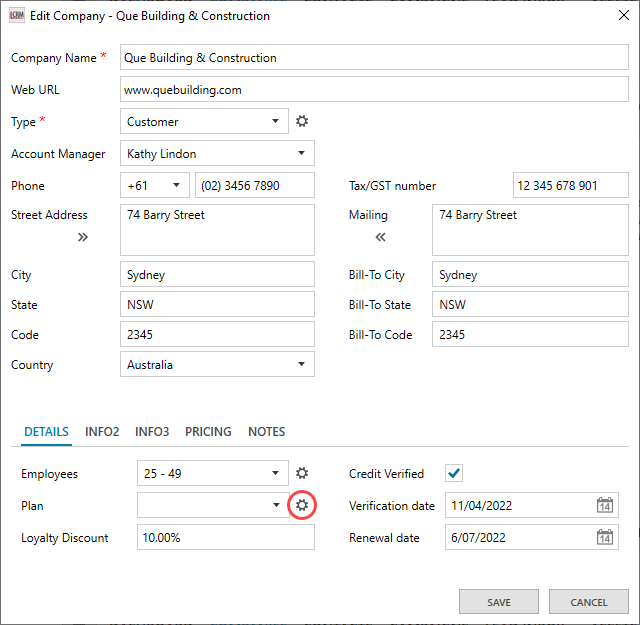
Locate the drop-down field and click on the icon next to the drop-down field to populate values.
Click ‘ADD’.
Enter the name of the value and click ‘SAVE’.
Repeat the process to add multiple drop-down field values and then exit.
Click the drop-down field to select a value and then click ‘SAVE’.
When you exit the editing screen, the information should display as shown below.